I used to use ABS slurry for all my prints for its stickiness and anti-warp properties, but its messiness is just too great and its environmental impact is something to consider with the acetone vaporizing off into your printer room. So, after much research I settled on PEI sheet. It comes in many brands and sizes, and found one by Gizmo Dorks on Amazon already cut out at 200mmx200mm (8″x8″) and 1mm thick, which is important because its quite rigid and would be difficult to cut. Some people temporarily attach it with binder clips, but I used 3M 468MP double sided sticky tape. The tape is super thin and unforgiving, a single mess up will ruin the install, so have some extra tape for backup.
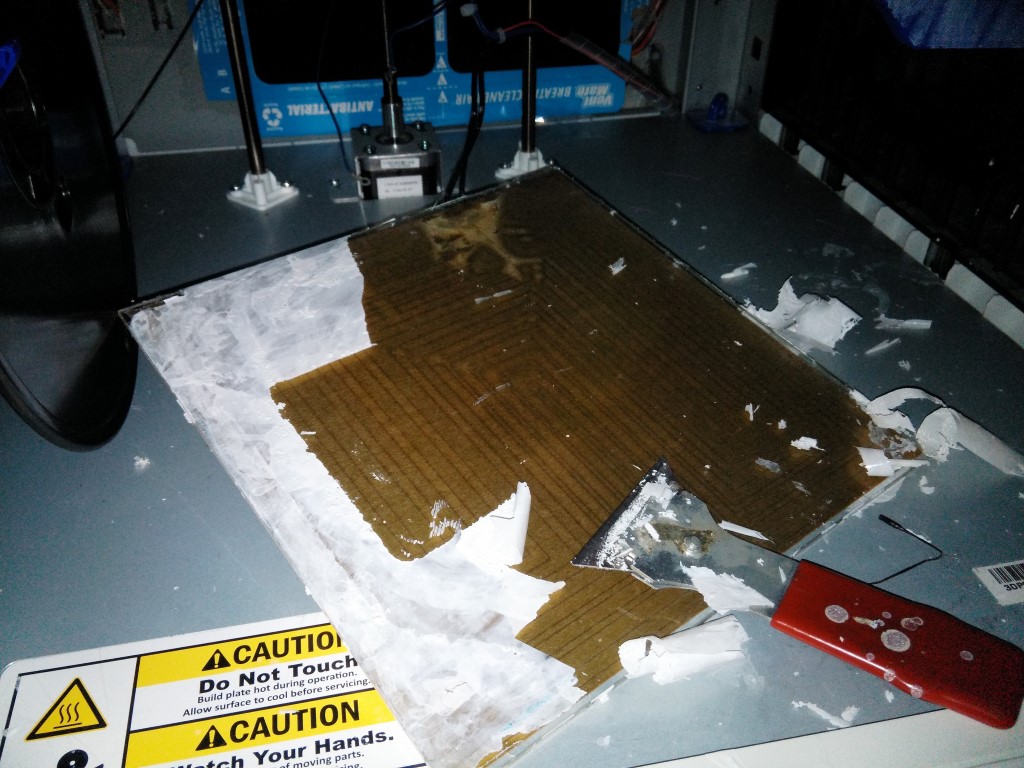 I removed glass plate on my XYZprinting DaVinci 1.0. Then scraped the old built up ABS slurry with a razor blade.
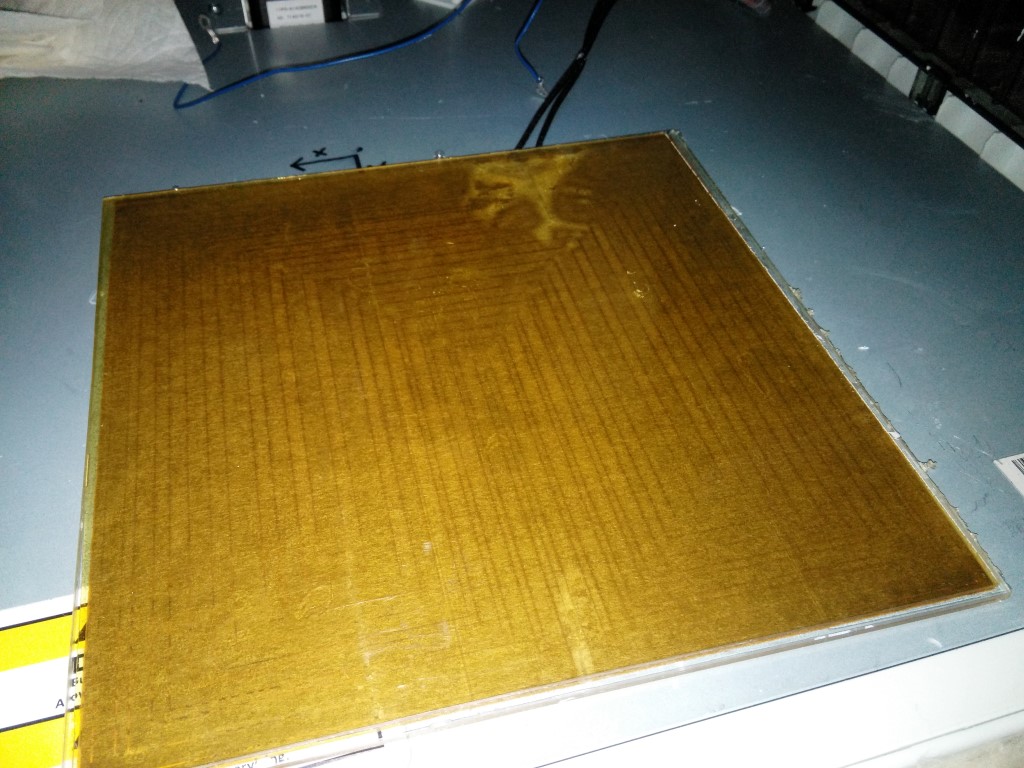
Then I cleaned the surface with acetone and mounted the tape layer, like a big sticker then the PEI on top of that. In the pic above, the PEI sheet is installed but its hard to see because its the same color as the heated bed array.
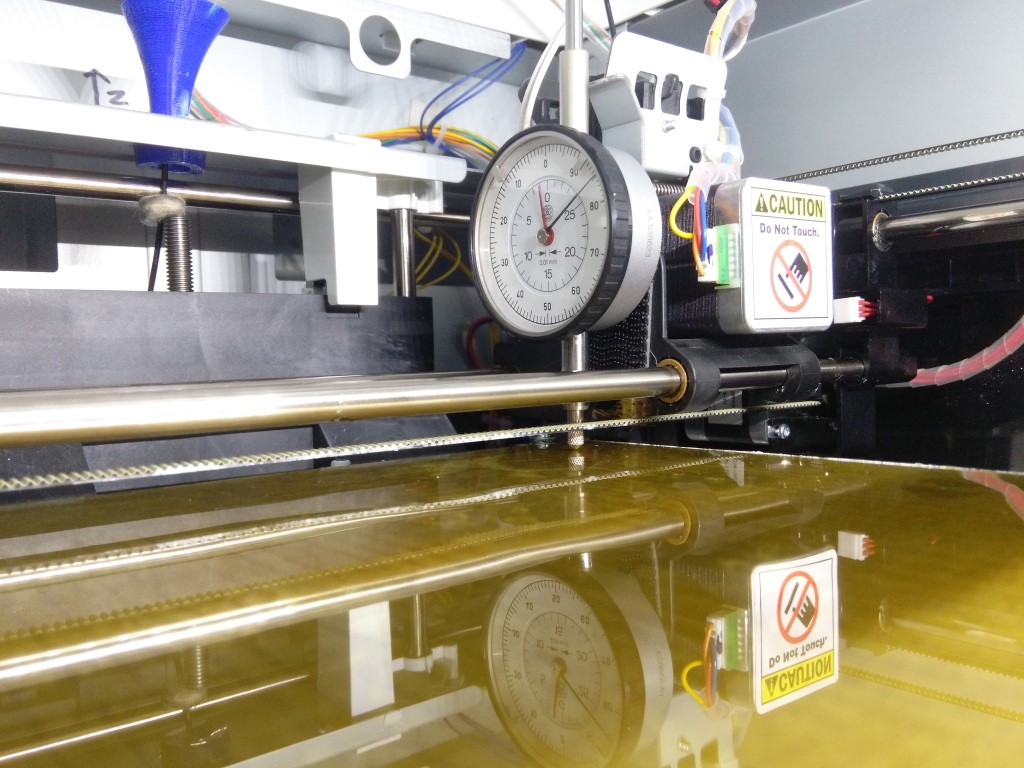 Above I am leveling the bed using a dial gauge indicator mounted with dual lock directly on the extruder. I got the bed leveled to .005mm corner to corner, which is pretty good. There is one bump in the center, which is visible in the reflection in the pic above. Its due to the 3M tape getting bunched up slightly during install. Its not too bad though and was fixed as I will explain later.
I did a test print and didn’t have to change any temp settings, bed temps checked with a IR thermometer proved to be similar as before. At first it was not sticking very well with ABS, but then I sanded the PEI down with 1000 grit automotive sandpaper. With a steady hand I smoothed out the bump from the bodged tape job, and the sanding made the ABS stick very well, even better than ABS slurry but without the mess.
One important thing to note, you must let the part cool down at least half way before trying to pull off the part, else it wont come off and you will just throw your bed out of alignment trying to yank the part off.
So far I have used Hatchbox and Jet ABS, eventually I’ll try other materials.
TL;DR: It sticks amazingly well after sanding. I wish I would have done this a year ago! Great deal for $15 for the sheet and $15 for the tape, this is a huge and cheap upgrade for the old printer.


