Got a few items done. But ran into some issues with my APM I need to work out, the telemetry is not communicating and the orientation will not correct and the GPS is not communicating….soooo, I think it may have some serious issues with the Arduino. I am looking for a replacement controller now. This puts the project on hold until I get it worked out.
DONE:-mount servos
DONE:-double check all electrical
DONE:-full power up, test all electrical.
DONE:-set servos 90 degrees and tie in linkages
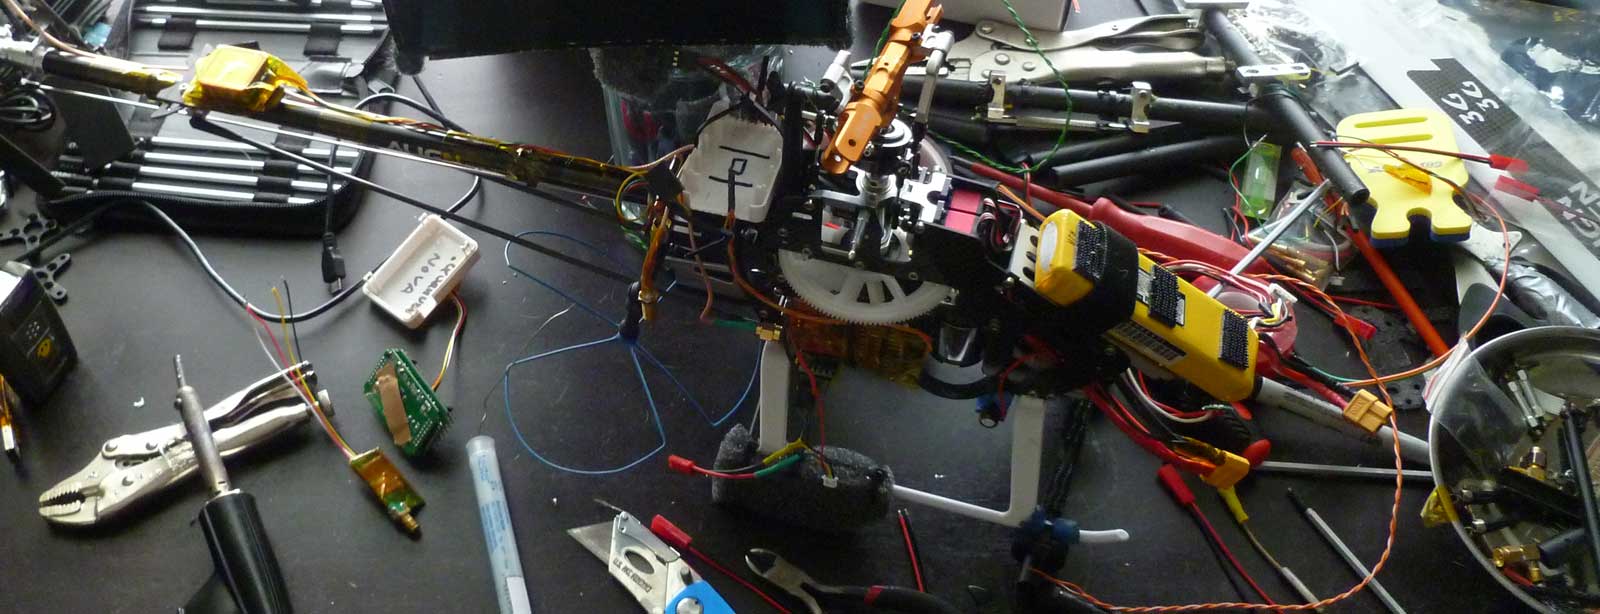
total mess right now
Outstanding TO-DO list
-balance props, remove weight if all possible. Tape is last resort.
-remove and Blue-loctite all bolts, careful to keep off loctite off plastics and locknuts
-set up RC transmitter for *airplane*, APM likes non-mixed inputs
-program APM (arduino/gyro/flight controller/arducopter)
-evaluate RF noise for RF interference abatement, LCfilter/torroid placement, planning on using none due to shielding, component spacing and twisted pair cat5 wiring throughout. Don’t want the extra weight. Use a RTL-SDR for evaluation.
-lightly lube all gears
-double check all mechanical parts
-spin up motor while copter is anchored, evaluate APM vibration log
-test RC inputs work with mechanics
-log all up weight (auw)
-check final center of gravity (CG)
-take pictures, this is the best it will ever look
-check ground station FPV gear and Mission Planner
-maiden 1, spin up, frame tied to ground. Test control surfaces
-maiden 2, take off 5′ then land
-maiden 3, repeat 2
-maiden 4, fly a *short* distance, return and land
-maiden 5, repeat 4
-maiden 6, test APM auto modes
-maiden 7, repeat 6
-flight check then normal flight
DONE: visually check all parts prior to assembly, and circuit boards with loupe for poor solder joints
DONE: assemble frame, bolts finger tight
DONE: mod: dual thrust torque boom bearings to reduce tail boom vibration. Add tail motor if necessary. Pic below.
DONE: mount Gopro, used Moolgel and Tarot “card” system…though modified. Pic below.
DONE: make skids, for frame level and camera mount. *no pic yet*
DONE: kapton tape all circuit boards, for water and dust. Then wrap in aluminum foil tied to ground, then wrap in kapton again
DONE:-solder new wiring plug on 1258Mhz video transmitter, I hate DF13 connectors! They are too fragile. Replacing with two JST connectors
DONE:-mount 1258Mhz video transmitter, but still need a zip tie to double secure.
DONE:-mount FPV camera
DONE:-mount “minimosd extra” HUD video overlay (already programmed, procedure here), but still need a zip tie to double secure.
DONE:-foam up Microphone for wind, place inside frame
DONE:-mount 900Mhz telemetry, but still need a zip tie to double secure.
DONE:-mount magnetometer
DONE:-add band-aid over barometer
DONE:-wire and mount 5V power supply (BEC)
DONE:-program BEC (battery eliminator circuit): Castle 10A
DONE:-program ESC, set RPM governor
DONE:-mount 433Mhz receiver
DONE:-make 433Mhz dipole antenna, or turnstyle type
CANCELLED-make 900Mhz antenna
DONE:-mount servos
DONE:-double check all electrical
DONE:-full power up, test all electrical
DONE:-set servos 90 degrees and tie in linkages


