Recently done:
- mount magnetometer. upgrade HMC-5983 from 5883
- add band-aid over barometer. to smooth the pressure differential/buffeting. Makes APM more stable in auto and loiter.
- wire and mount 5V power supply (BEC). For discreet power for APM and 433Mhz rx and to prevent brownouts due to servo electrical draw. I’m using digital servos, that have a lot of current draw. These can pull up to 1A each, and I have 4 of those and also need enough power for the APM, receiver, minimosd and telemetry. It’s going to be around 5A to 8A RMS draw on the BEC depending on how its flying. Since I am not using a 3DR power module and I also need more amps on the BEC than the standard 5 amps the Castle ICE 50 provides, I will be adding a external BEC that gives 10A. Normally you cannot parallel BEC’s, but the Castle’s you can, so I can get up to 15A of total BEC 5.3V power, also Castle BEC’s have variable voltage so I can set it for 5.37V which is what the APM likes (JP1 on). The servos are variable from 5-6V, so 5.37V will be good. A bonus is that 2 BEC’s provides some redundancy.
- program BEC (battery eliminator circuit): Castle 10A. With Castle Link USB programmer, makes it easy. 10g weight. I will do a future post on the Castlelink.
- program ESC, set RPM governor. How-to coming soon.
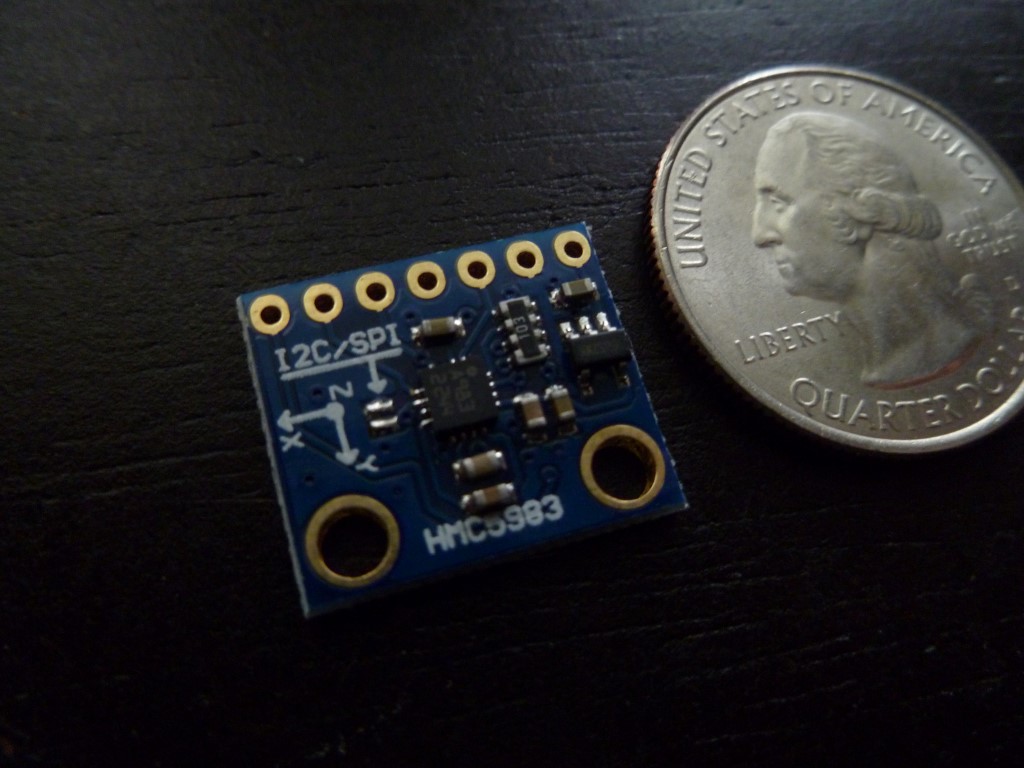
The HMC5983. Much better compass than the 5883
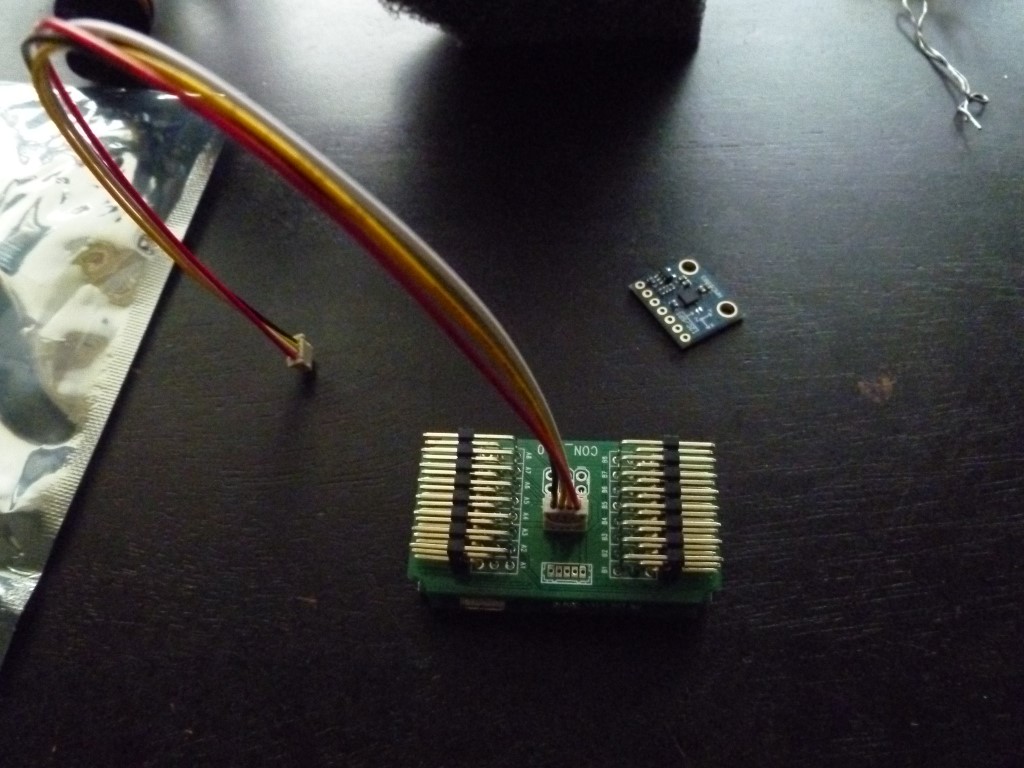
this is a weird APM breakout board, from a Quanum nova. There is newer version of this board out now with different connectors
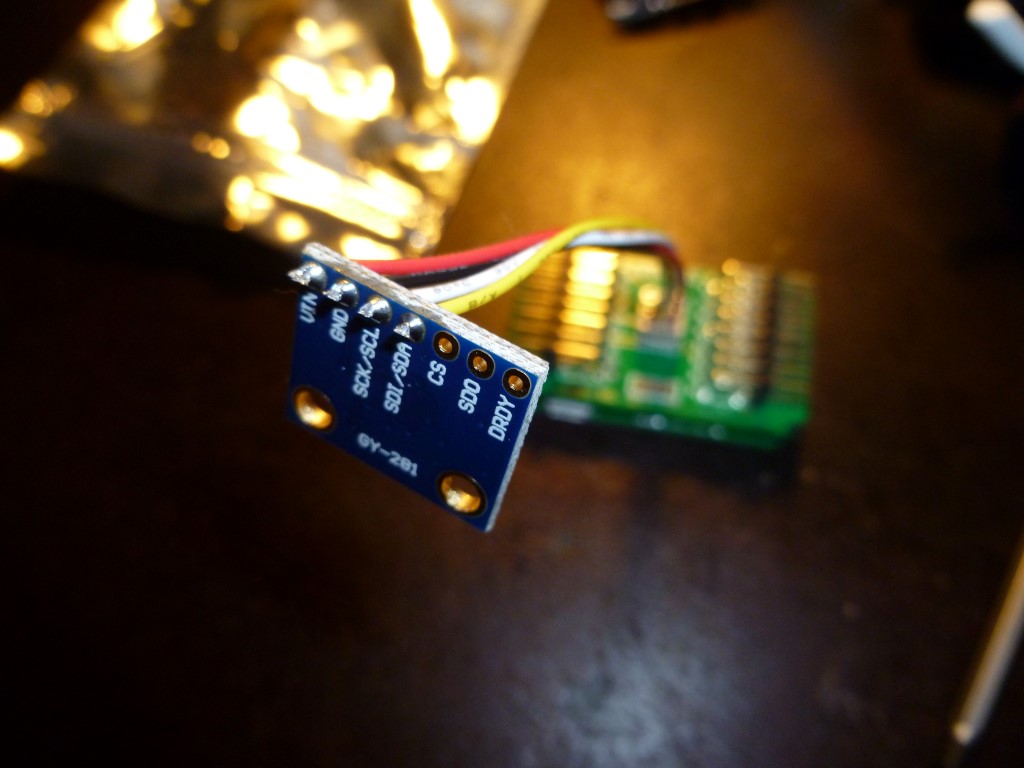
I think I got the wires in the corrects positions! who knows, there is no data for this APM. I had to follow the traces from the Arduino chip….we’ll see if it works when its powered up.

wrapped in Kapton tape and 3M VHB double sided taped on
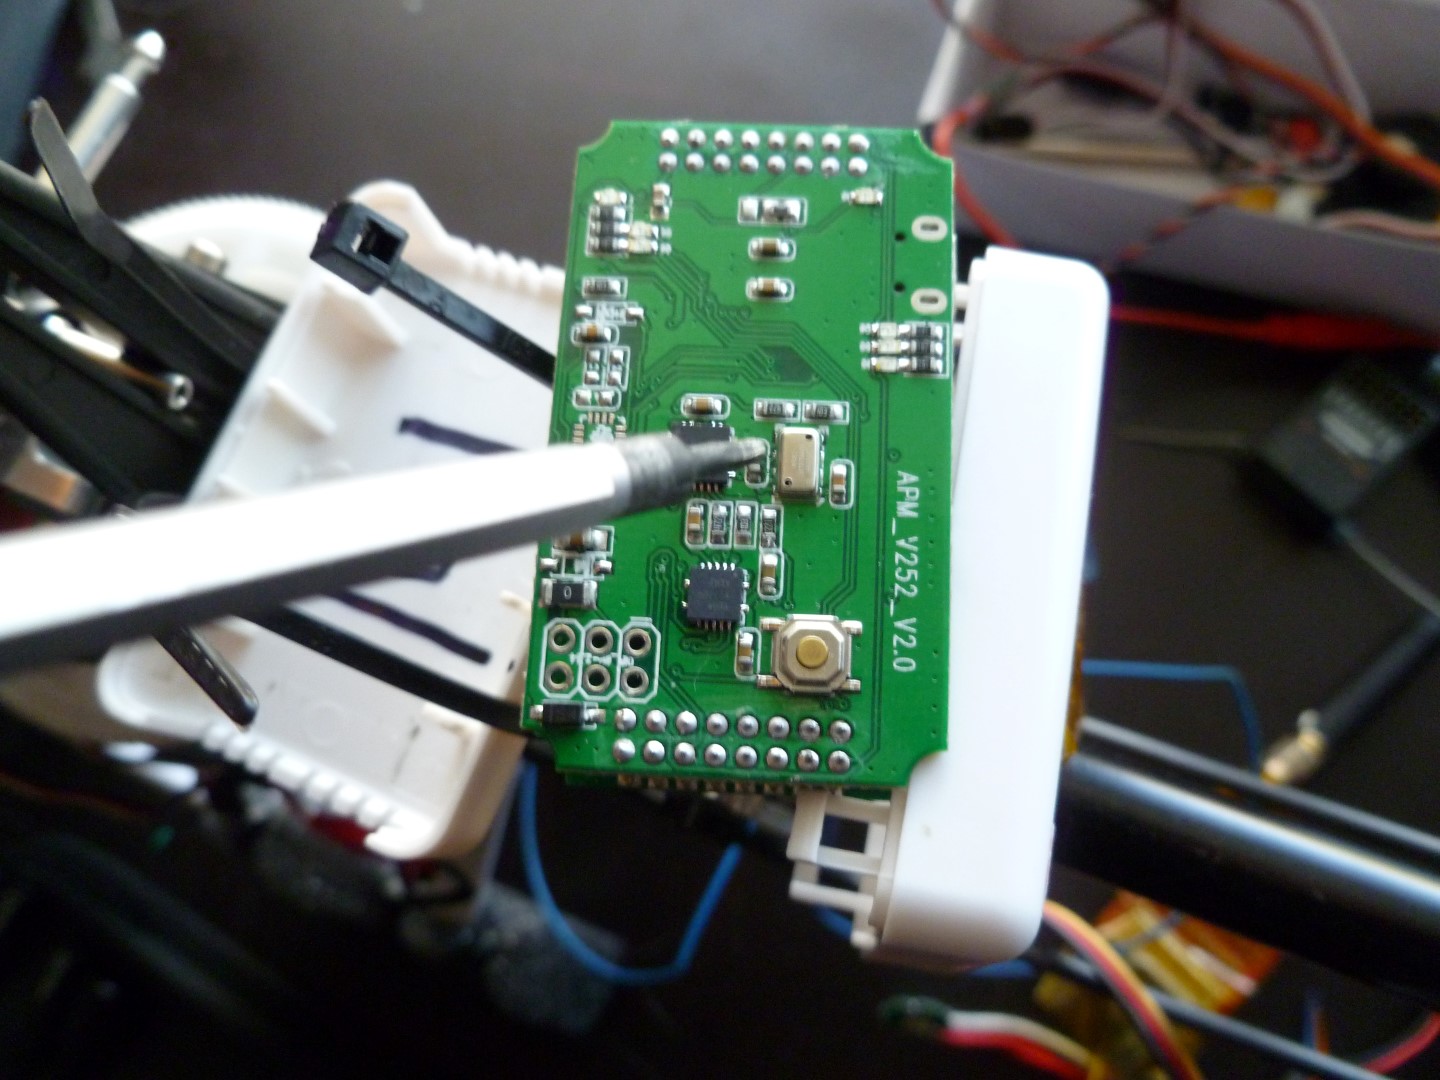
that rectangle with two holes is the APM Barometer
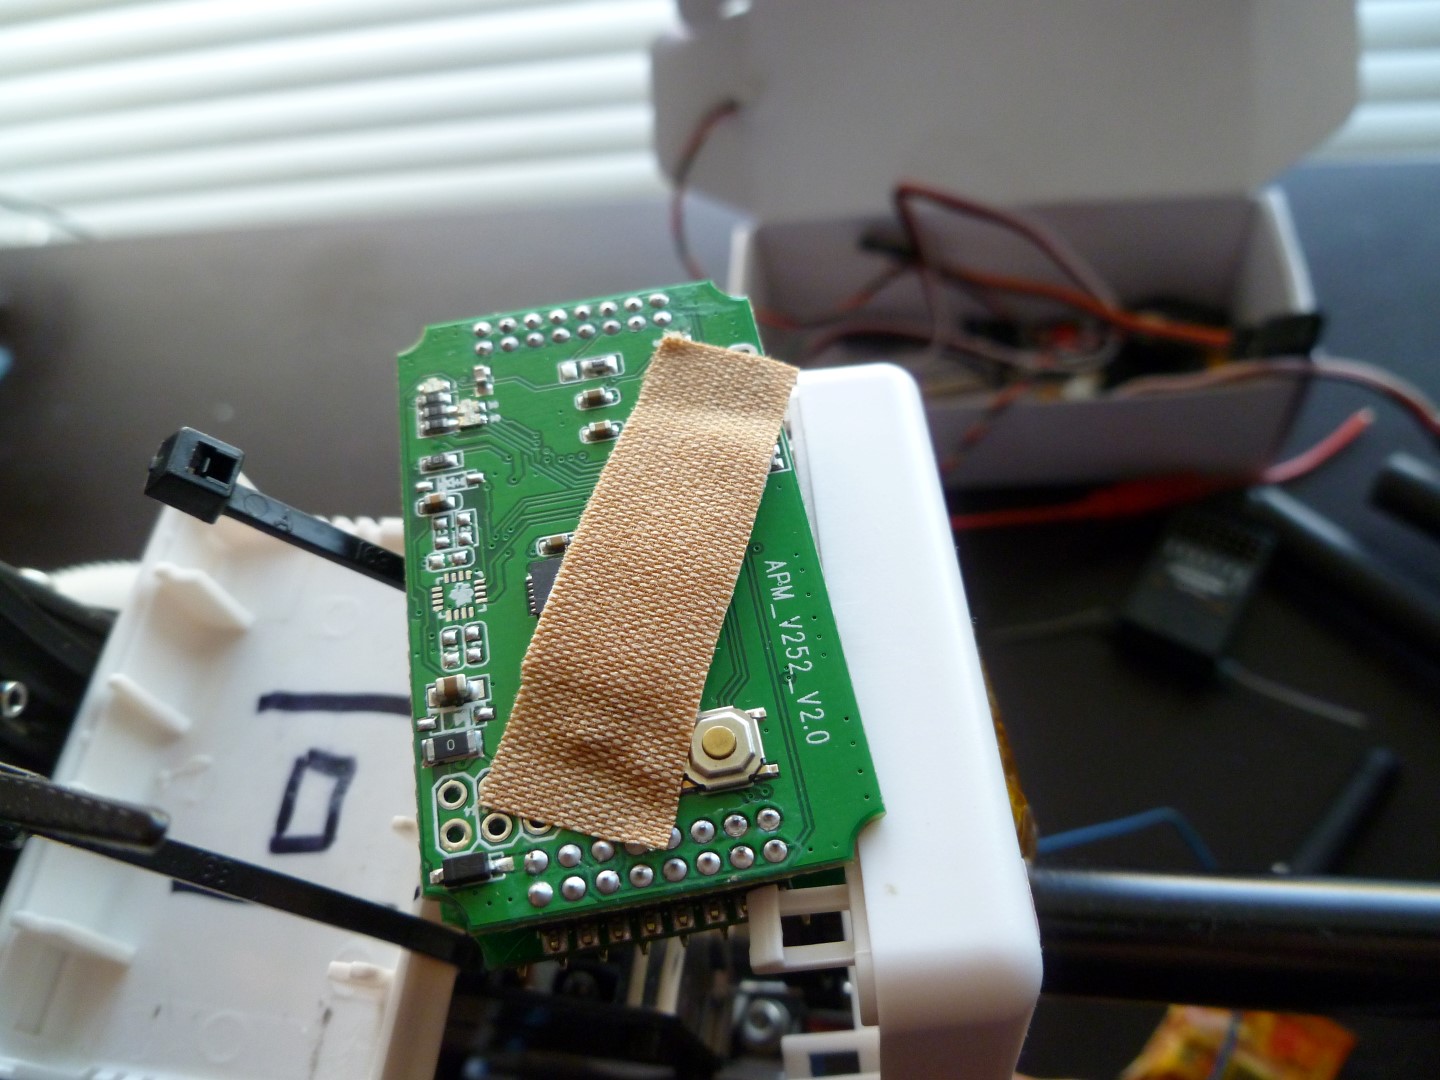
yes, that’s a bandaid. Its covering the barometer. Explained above.
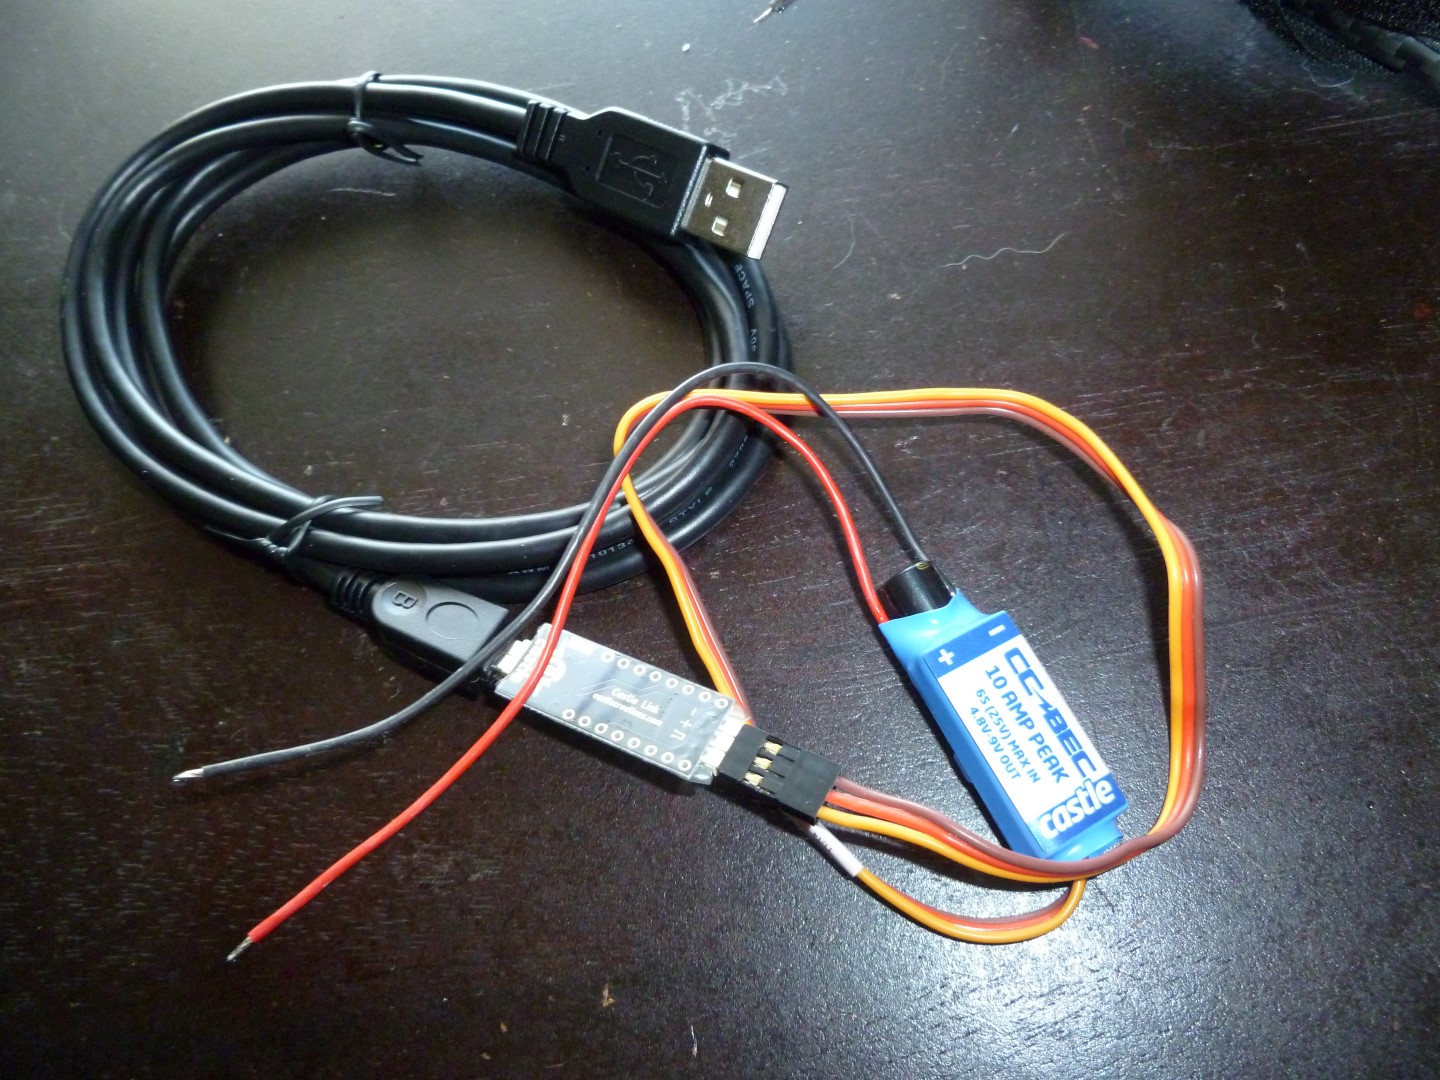
This is a Castlelink ESC programmer connected to a Castle CC-BEC

Castlelink connected to Castle ICE 50 ESC.
Outstanding TO-DO list
-balance props, remove weight if all possible. Tape is last resort.
-mount servos
-remove and Blue-loctite all bolts, careful to keep off loctite off plastics
-mount 433Mhz receiver
-make 433Mhz dipole antenna, or turnstyle type
-make 900Mhz antenna
-set up RC transmitter for *airplane*, APM likes non-mixed inputs
-program APM (arduino/gyro/flight controller/arducopter)
-set servos 90 degrees and tie in linkages
-double check all electrical
-full power up, test all electrical
-evaluate RF noise for RF interference abatement, LCfilter/torroid placement, planning on using none due to shielding, component spacing and twisted pair cat5 wiring throughout. Don’t want the extra weight. Use a RTL-SDR for evaluation.
-lightly lube all gears
-double check all mechanical parts
-spin up motor while copter is anchored, evaluate APM vibration log
-test RC inputs work with mechanics
-log all up weight (auw)
-check final center of gravity (CG)
-take pictures, this is the best it will ever look
-check ground station FPV gear and Mission Planner
-maiden 1, spin up, frame tied to ground. Test control surfaces
-maiden 2, take off 5′ then land
-maiden 3, repeat 2
-maiden 4, fly a *short* distance, return and land
-maiden 5, repeat 4
-maiden 6, test APM auto modes
-maiden 7, repeat 6
-flight check then normal flight
DONE: visually check all parts prior to assembly, and circuit boards with loupe for poor solder joints
DONE: assemble frame, bolts finger tight
DONE: mod: dual thrust torque boom bearings to reduce tail boom vibration. Add tail motor if necessary. Pic below.
DONE: mount Gopro, used Moolgel and Tarot “card” system…though modified. Pic below.
DONE: make skids, for frame level and camera mount. *no pic yet*
DONE: kapton tape all circuit boards, for water and dust. Then wrap in aluminum foil tied to ground, then wrap in kapton again
DONE:-solder new wiring plug on 1258Mhz video transmitter, I hate DF13 connectors! They are too fragile. Replacing with two JST connectors
DONE:-mount 1258Mhz video transmitter, but still need a zip tie to double secure.
DONE:-mount FPV camera
DONE:-mount “minimosd extra” HUD video overlay (already programmed, procedure here), but still need a zip tie to double secure.
DONE:-foam up Microphone for wind, place inside frame
DONE:-mount 900Mhz telemetry, but still need a zip tie to double secure.


